


|
An alternative method for the "Client Software Installation" is to manually install the software onto the client machines.
To view the "MSI package" for Windows or "PKG file" for Mac, navigate to the location where the
ADSelfService Plus has been installed and select the "Bin" folder.
.
Steps To Be Followed For The Manual Installation Of The Client Software :
Copy & paste the 'MSI package' onto the Windows computers (where the Client Software is to be installed), then
Right click on the 'MSI package' & click on 'Install'
The "ADSelfService Plus Client Software Setup Wizard" will appear. Click
"Next" to continue
Select Installation Folder" page would appear
To select the "location of your choice" - for the installation of the Client Software - click on "Browse" and select the desired location
Click on "Next" to continue "ADSelfService Plus Server Details" page would open up
Provide the "Name of the ADSelfService Plus Server" in the respective text box provided
Follow it up with the "Port Number of the ADSelfService Plus Server".Declare the port number in the "HTTP" mode ( this version is also compatible with the "HTTPS" mode)
Click on "Next" to continue
"Confirm Installation" page would appear, click on "Next" to go ahead with the installation
This would lead you to the "Installation Complete" page, where the message "ADSelfService Plus Client Software has been successfully installed" would be displayed
Click on "Close" button to exit the
"GINA/CP Client Software Setup Wizard".
Manual Installation Via Command Prompt:
It is also possible to install the "GINA/CP Client Software" with the help of "Command Prompt" instead of using the "GINA/CP Client Software Setup Wizard".
The command which is executed for the Installation process is "msiexec
/iADSelfServicePlusClientSoftware.msi SERVERNAME=selfservice.xyz.com PORTNO=8888
/qn".
ADSelfService Plus login agent for Mac OS X lets Active Directory domain users using Mac clients to reset their passwords and unlock their accounts from the OS X login screen itself. Please follow the steps given below to deploy the password self-service login agent to Mac clients:
Note: The ADSelfService Plus login agent for Mac supports clients running OS X 10.6 and above.
Installation Steps:
Locate the Mac OS X login agent for password self-service in ADSelfService Plus installation folder. It can be found at <install_dir>/bin/ADSelfServicePlusMacLoginAgent.pkg.
Copy the ADSelfServicePlusMacLoginAgent.pkg file to the Mac clients.
Double-click the ADSelfServicePlusMacLoginAgent.pkg file to begin the installation process.
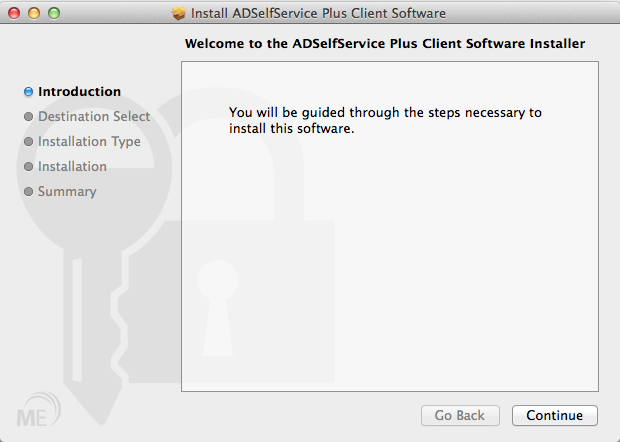
In the Introduction window, click Continue
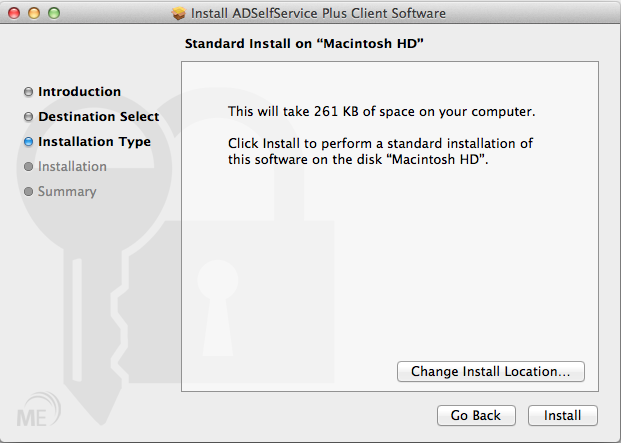
In the Installation Type window, select the install location and click Install.
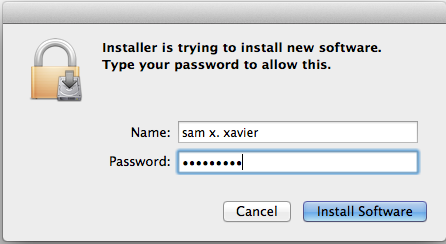
After you click the Install button you will be asked to enter your username and password. Please use the account information you used to log on to your Mac.
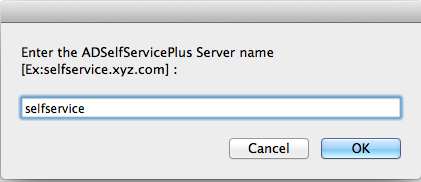
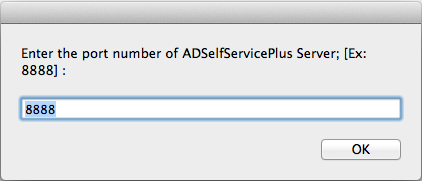
Enter the ADSelfService Plus server name and port number when prompted
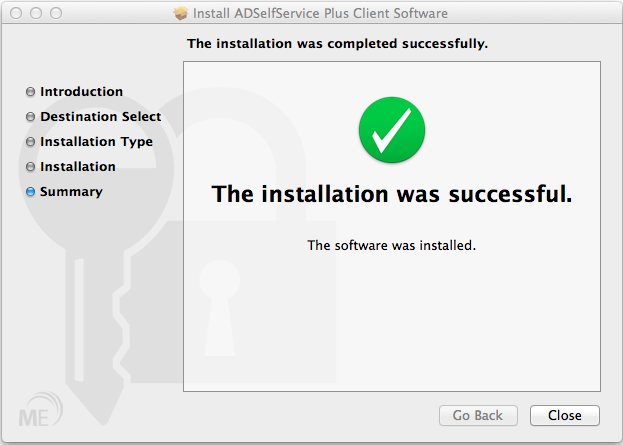
In the Summary window, click Close to complete the installation.
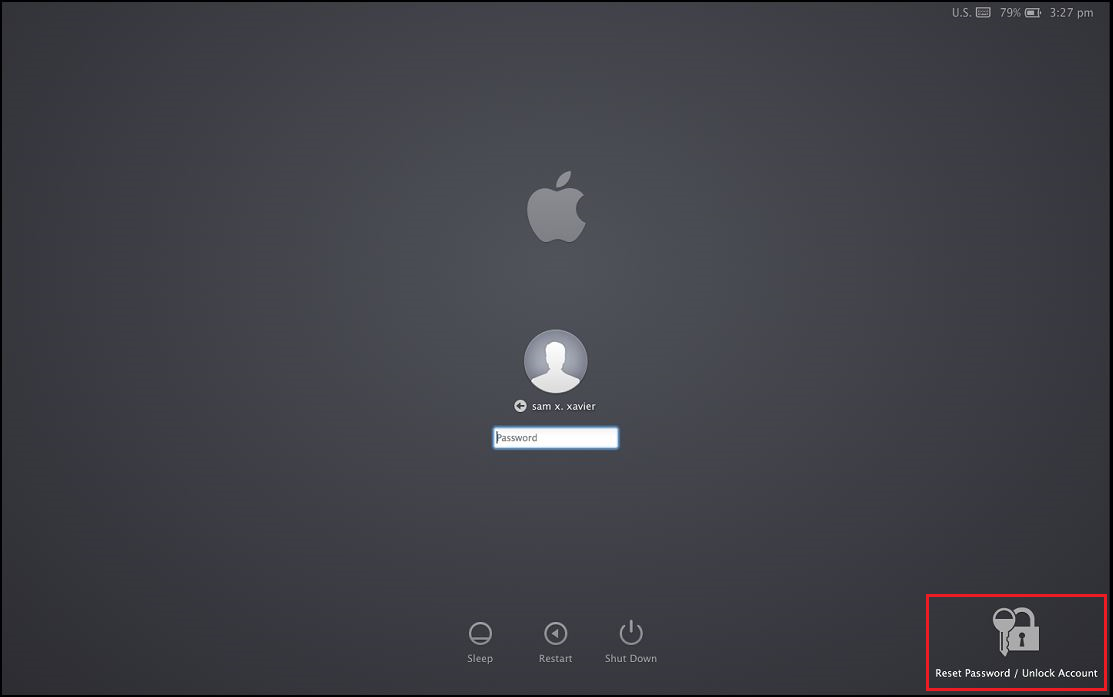
Once the installation is complete, a Reset Password/Unlock Account button will appear on the login screen.
This section describes how to customize the various features of the ADSelfService Plus's Mac OS X login agent. Features such as Server Name, Port Number, Button Text & Icon can be customized by editing the file config.plist stored in /Library/Application Support/ADSSPLoginAgent/. Follow the steps below to customize the login agent:
Open Terminal
Run this script to change the server name: sudo /usr/libexec/PlistBuddy -c 'set :SERVERNAME 192.168.43.90' "/Library/Application Support/ADSSPLoginAgent/config.plist". Replace 192.168.43.90 with the server name or IP address of ADSelfService Plus server.
Please enter the username and password you used to log on to your Mac client when asked for user credentials.
Run this script to change the port number: sudo /usr/libexec/PlistBuddy -c 'set :PORTNUMBER 8443' "/Library/Application Support/ADSSPLoginAgent/config.plist". Replace 8443 with the port number of ADSelfService Plus.
Go to login screen and confirm the changes.
Open Terminal
To change the icon, use this script: sudo /usr/libexec/PlistBuddy -c 'set :IMAGEPATH /Users/testuser/Desktop/sample-icon.png' "/Library/Application Support/ADSSPLoginAgent/config.plist". Replace the path to the image with the path to your own icon.
Please enter the username and password you used to log on to your Mac client when asked for user credentials.
To change the button text(Reset Password/Unlock Account text which will be displayed on the logon screen), use this script: sudo /usr/libexec/PlistBuddy -c 'set :BUTTONTEXT Forgot Password?' "/Library/Application Support/ADSSPLoginAgent/config.plist". Replace Forgot Password? with your own text.
Go to login screen and confirm the changes.
Note: In case, the specified icon source is not available default icon will be loaded.
Open Terminal
Open /Library/PrivilegedHelperTools/
Del ADSSPLoginAgent
Go to login screen and confirm the changes.


|